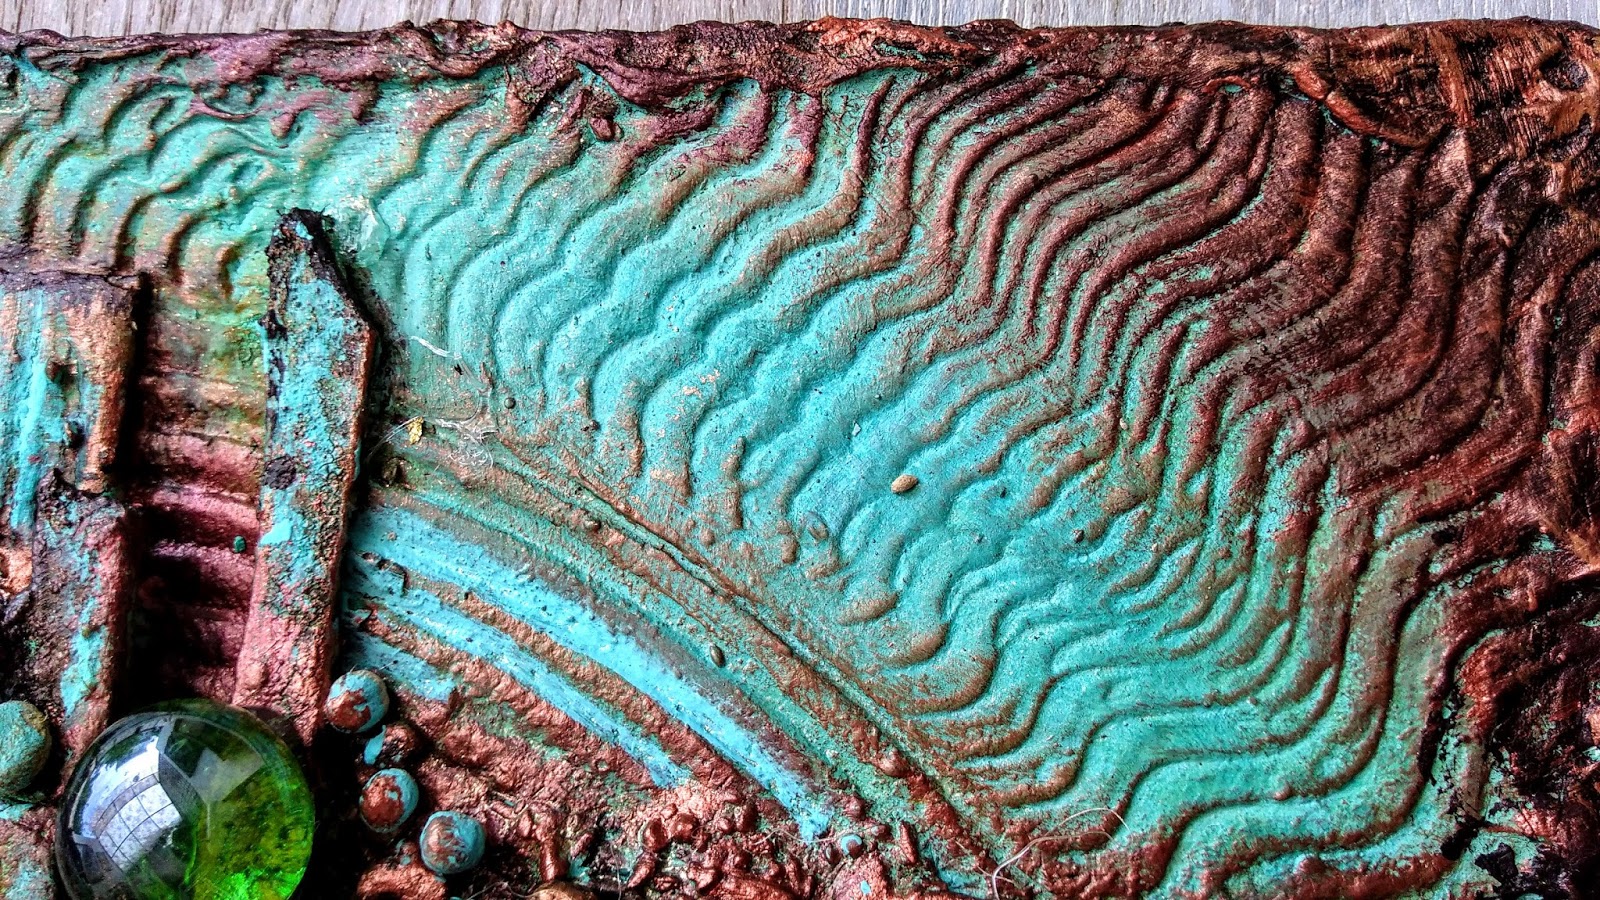
Hello friends Pooja here at Itsy Bitsy's blog to share some crafty time with you. I usually like to make mixed media projects and this time I tried my hands on a layout. I will show you how easily you can create a rustic look. This especially works out well for those who are not too confident about their colouring. The trick is, you just need to give a distressed appeal to your background using your inks.
Have a look
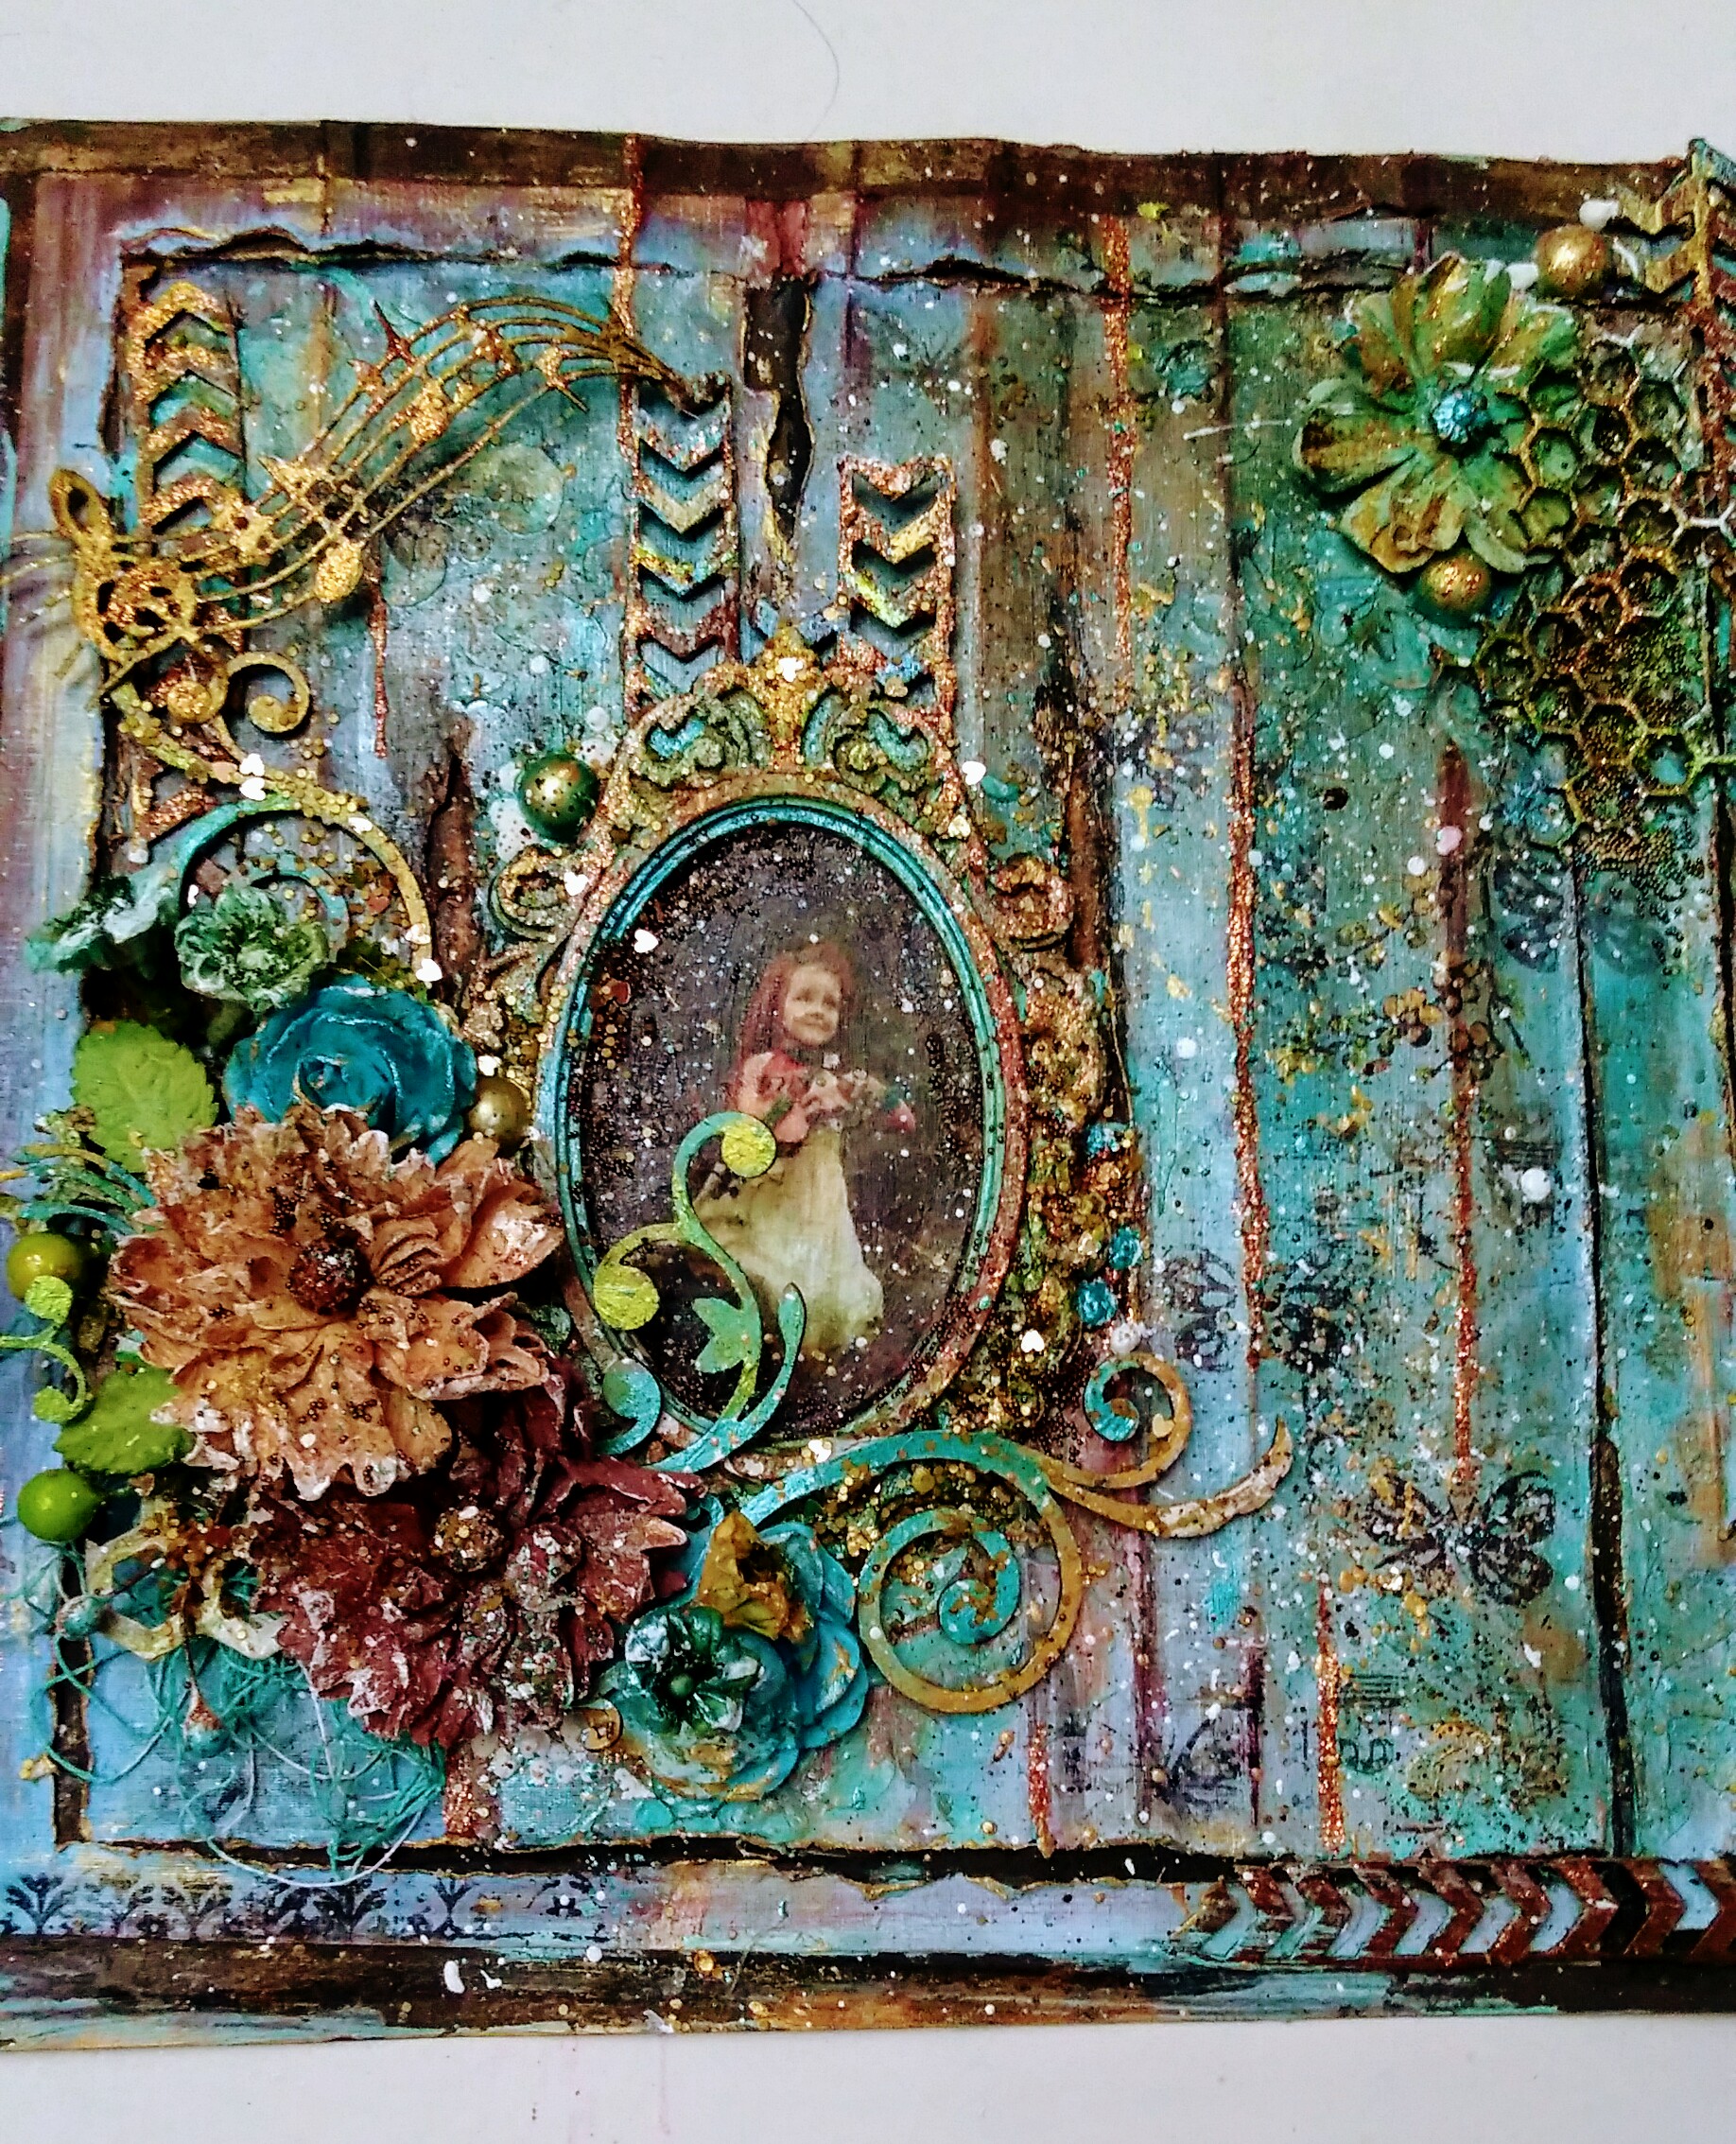

To make this, I have chosen a blue paper from Little Birdie's Chevron in Aquarelle paper pack.

Applied Mont Marte gel medium gloss to make the paper a little flexible

Next, I tore the paper at places as shown in above picture.
Left 1/2" from all the sides and using a cutter made slits. Then, applied some gel medium or water and used a cutter to distress the slits. You can see what it looked like in the above pic.
 I
INow comes the interesting part where I have used a score board to draw some lines randomly as shown in above picture.

After that, I have applied pigment ink from Itsy Bitsy with a light hand on the embossed links and added more colours - Burgundy Versa craft ink and Encore metallic copper. I kept building up the background with colours again and again until I got the desired look. Patience is the key while you build up the background with layers of colors!

I have mixed modelling paste with Sailing Sky Chalk Paint and then used a stencil to make a pattern.

Now that the base colours and the stencil work was done, I pasted a dark brown card stock at the back. Take a closer look and you will be able to see it in the above picture.
Now it was time to arrange all the embellishments. I have used 3D chipboard frame, arrow chipboard, flowers, Fairy Dust and some beads for decoration.

I have coloured the chipboard with chalk paint and then given a dry brush touch up with brown acrylic. Next I applied gesso randomly. I coloured all the chipboard shapes using the same technique.
I have chosen rustic zinnias form the wide range of handmade flowers available in the store. Finally, I arranged all my embellishments and glued them where I wanted them to be and did some highlighting.

For highlighting I have used Fairy Dust Copper and Hearty Melange Golden. I mixed them with gel medium created some lines with copper Fairy dust. After that I have used both the shiny products for highlighting the embellishments all over. At the end I spread gesso all over and also used some green metallic colours for a little touch-up on the chipboard shapes and flowers.

Finally did some stamping with Little Birdie stamps.


Hope you liked my project. See you soon!! Till then craft more and enjoy more....
More than word challenge (musicalnote die,stamp,n a pic of a little girl playing violin,I totally inspirated from this month them because I liked to listen vintage old type old which is like old in Gold for me)


Mixed media and art blog challenge(I am inspired by the color, vintage,rastic,forestic look,wood colours☺)